Flexbox Layouts (1)
The following files are required for this lesson:
Introduction
This lesson will be taught in two parts:
Demo Instructions
You can follow along with your instructor to complete this build and/or you can use this document as a guide in completing the demo build.
Steps - Part 1: Flexbox Content
- Download the demo-flexbox-content.zip file and extract its contents to a folder named demo-flexbox-content.
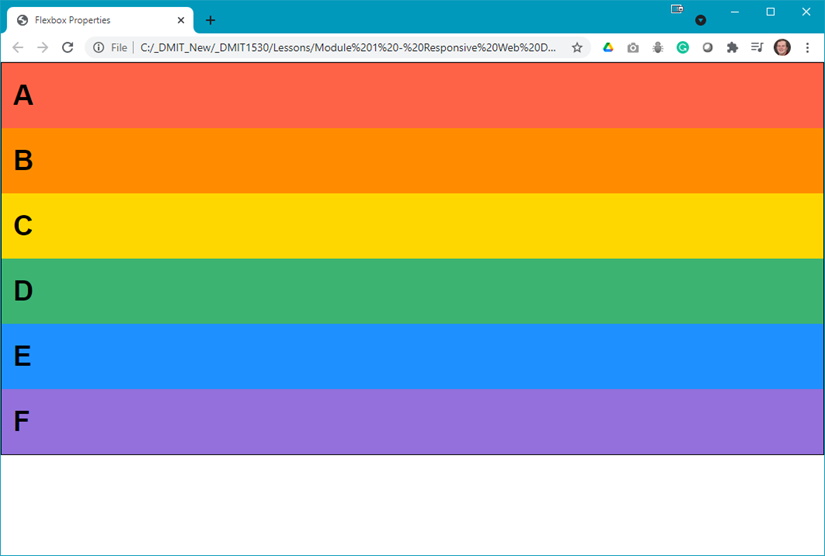
- Open index.html in your browser to see something like:
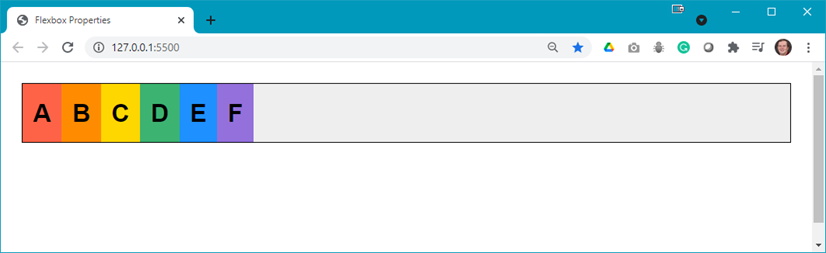
- The first result you need looks like:
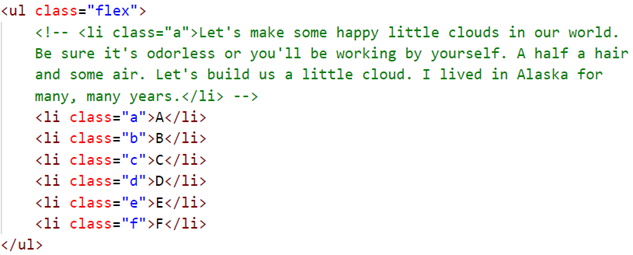
- In your code editor examine the code below:
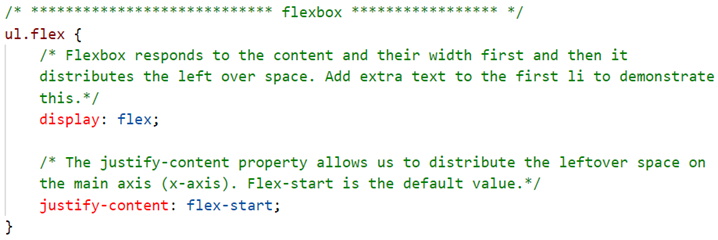
- Examine the code in styles.css and notice that there is no
.flexclass style rule created. Therefore, add the following rule, save, and refresh your browser:
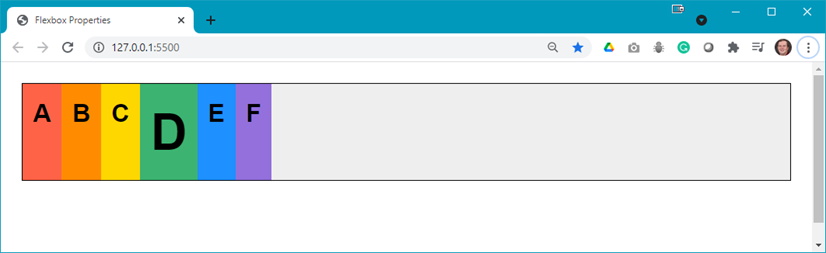
You should now see:
- Now you can change the
justify-contentto different values:
- flex-end:

- center:
- >space-between:
- space-around:
- space-evenly:
- flex-end:
- The next flexbox property is
align-itemswhich allows the distribution on the cross axis (y-axis). Reset thejustify-contenttoflex-startand add the following code to the class (justify-content: flex-start;is shown only for reference to where this code goes):
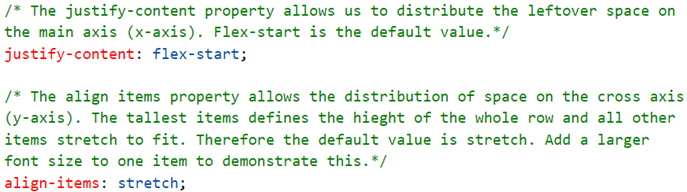
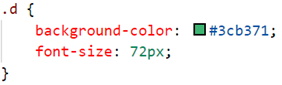
- As the result is the same as was shown in step 5, make the following change in your stylesheet before displaying the result in your browser:
- Now examine the other values for align-items:
- flex-start:

- flex-end:

- center:

- >baseline:

Question: What is the difference between center and baseline?
- flex-start:
Steps - Part 2: Flexbox Nav
- Download the demo-flexbox-nav.zip file from Moodle and extract its contents to a folder named demo-flexbox-nav.
- The goal of this demo should look like:
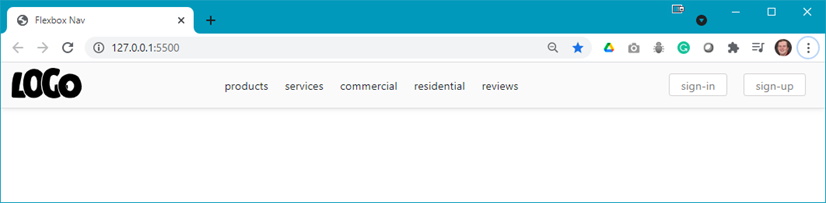
- Open index.html in your browser to see something like:
Question: What do you think you need to do to achieve the desired output? - Add the following style rules to your styles.css file:
- Style the <body> element:

- Add a .flex-container class:

- Style the <header>:


- As the LOGO is really big, and the image used is an SVG, you can set the size of the logo using:


- Now set the margins for the <li> elements:


- Next, the two hyperlinks, sign-in and sign-up, need to be styled for hover effect and to make them look like buttons:


- When you hover your mouse over these simulated buttons, there is no visible change in their appearance. To get the desired effect add the following:


- Style the <body> element:
- Optionally, you can add hyperlinks to the menu
<li>’s and style them appropriately.
Summary
More properties of flexbox will be demonstrated in the next demo.