Sequence - Input/Output
Introduction
This topic will focus on inputting data into, and outputting data from, your application. The main C# code in this section is:
//Input into your code
Console.ReadLine();

//Output from your code - same display line
Console.Write();

//Output from your code - adding a Carriage Return Linefeed (CRLF)
Console.WriteLine();
Your First Console Application
This first Console Application will not only test the code for this lesson, but also test you can create a Console Application in Visual Studio.
Steps
- Start Visual Studio
- If using the Start Window, select the
 from the options shown. If using the Empty Environment, select
  .
. - From the Create a new project wizard, make the following selections:
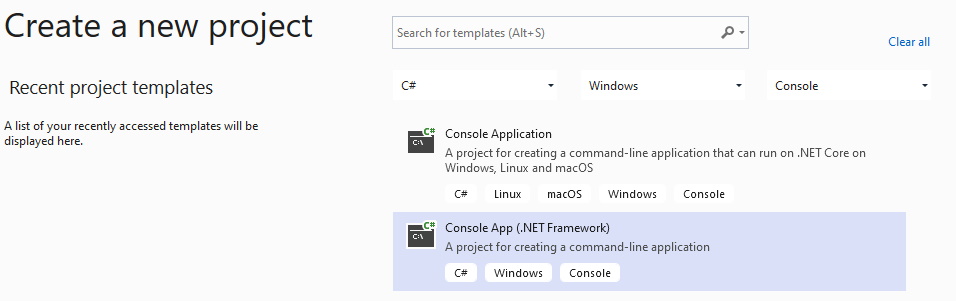
You need to select the Console App (.NET Framework) option then press Next - On the next wizard screen make the following changes (if you have a different Location, based on your preferences from the Options, then use that one):
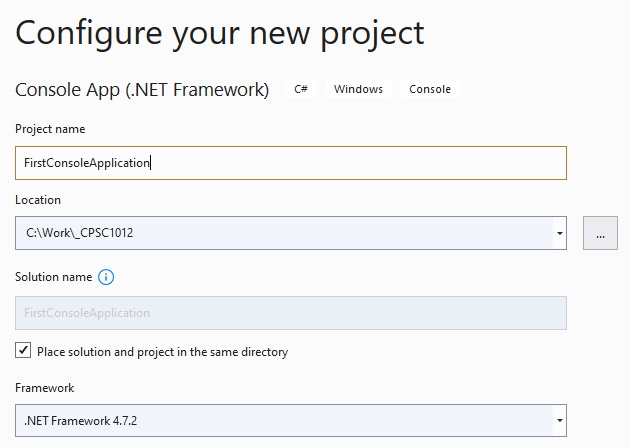
The checkbox on Place solution and project in the same directory is strongly recommended. - Press Create to see the following:
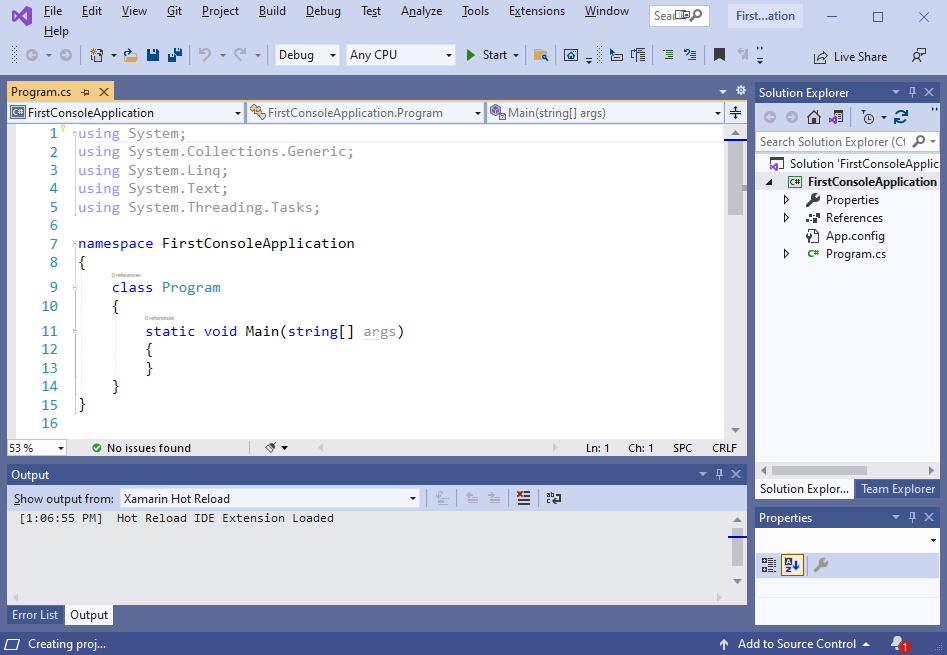
Examining the Project
There are a few things to notice about this project you have just created:
- The Solution Explorer shows all the files associated with this project. The application name is bolded which means it is the startup project; it will run when you press the Start button on the menu bar.
- The Code Window shows you the code that was auto-generated by Visual Studio:
- Lines 1-5: these are automatically added by Visual Studio. They reperesent the standard or common namespaces for Visual Studio code files.
namespace: for this course it will always be the name of the application created. This is the overall container for our code.</li>class Program: this is the application; you can change this name but it is recommended to leave it as is.static void Main(string[] args): this is the main entry point to the code that will execute when we press the Start button. You will be writing code in this method.
Writing Code
The first this to do is add the required comment block at the top of your code. It should look something like (replace authorname with your name, and modifieddate with the date you wrote this code) which is placed just above the namespace code line:
/*
Purpose:        Demonstrate simple input & output in a Console application
Input:          your name
Output:         your name
Written By:     authorname
Last Modified:  modifieddate
*/
Next, you will need one variable (a piece of code that holds some data). Expand the static void Main(string[] args) to add a blank line between the open and closed braces ({ and }). Add the following comment structure:
static void Main(string[] args)
{
    //declare variable(s)

    //input

    //process

    //output

    //program ends
}
This structure outlines what we need to do in your application. You will write code from top to bottom in this Main method.
Below the //declare variable(s) comment add the following:
string yourName;
Below the //input comment add the following:
Console.Write("Enter your name: ");
yourName = Console.ReadLine();
There is no processing in this simple application, thus you do not need to add anything below the //process comment.
Below the //output comment add the following:
Console.WriteLine("Your name is " + yourName);
This will write out the value of the variable, yourName to the console window, preceeded by some hard-coded text. The + sign is not addition, but a concatenation, or joining, operation.
Below the //program ends comment add a line that reads:
Console.ReadLine();
Running Your Code
The last line of code you entered is only necessary when running your code in debug mode, which is the mode your code runs when you press the Start button. (The Start button has a keyboard shortcut of F5.) If you did not add that code line, you would need to start your code by using Ctrl+F5 to skip debugging; it is strongly encouraged to use debugging mode until you are fully confident in your code.
Press the Start button, or F5 to run your code (my resulting console colours are different for instructional purposes):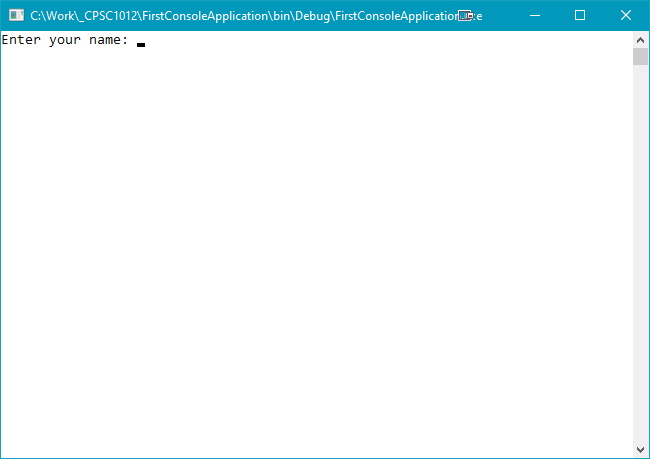
Test this by entering your name at the prompt and see if your results look like that shown below:
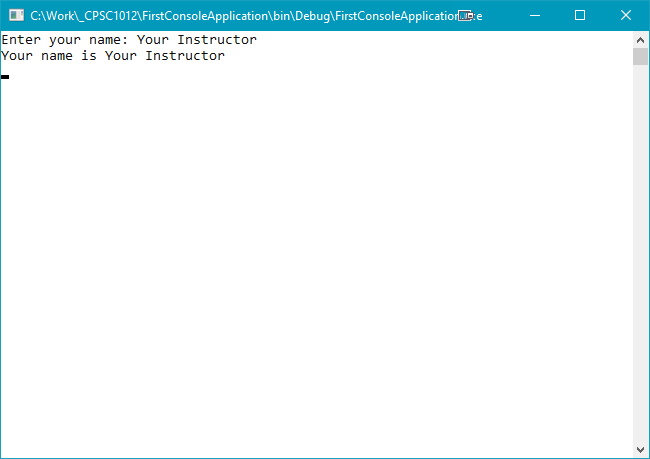
You will need to press Enter to close the console window.
Back in Visual Studio
If you have the Output window in Visual Studio, you can examine it to see something like:
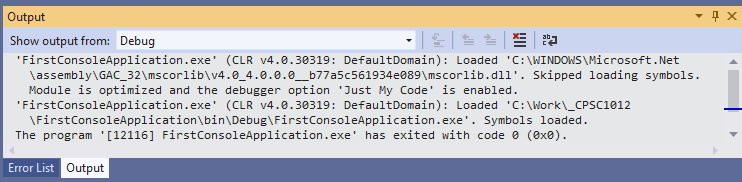
It is not very useful, but it does show you that you ran your code in debug mode, and that Visual Studio created a file called FirstConsoleApplication.exe which is created in the following folder:

Optional Output Code
There are two different means of outputting text and the value of the variable. Which one you use is a personal preference.
Paramaterized String Output
Below your original output code, Console.WriteLine("Your name is " + yourName); add the following code line:
Console.WriteLine("Your name is {0}", yourName);
The {0} represents the first variable after the comma. If you had multiple variables to display on one code line you would have the parameters as {0} {1} {2} and so on. Note these paramters are for just the code line you are writing; subsequent code lines, with parameters, restart the numbering sequence.
Run your code again to see:
The two output lines should exactly the same. This way avoids have to use the + symbol to concatenate, or join, complex output statements.
Interpolated String
Add the following code line below your last Console.WriteLine() code:
Console.WriteLine($"Your name is {yourName}");
Here the $ symbol tells the compiler to treat the string in Console.WriteLine() as a literal string, and thus {yourName} is automatically read. Run your code again to see the following:
You can now use the variable name instead of a parameter count. The choice of which method is up to you.
The Difference Between Write and WriteLine
Did you notice that the code has both Console.Write() and Console.WriteLine()? What is the difference? In your //input section you used Console.Write(). The user input was entered on the same console line as the prompt. This is the preferred method of inputting data.
In your //output section you used Console.WriteLine(). Notice that each output statement was shown on separate console output lines. This is the preferred method of outputting data.
Summary
Congratulate yourself! You successfully created your first Console application.