11 - Introduction to CSS
The following files are required for this lesson:
Introduction
This demo will be done in three parts:
Demo Instructions
You can follow along with your instructor to complete this build and/or you can use this document as a guide in completing the demo build.
Steps – Part 1: Inline Styles
- Download the demo-style-sheet-start.zip file and extract the contents. Make note of this location as you will need it for the other parts of this walkthrough. Note, there is no document for the copy; the contents will be generated from https://www.lipsum.com/.
- Create a folder called css-inline-demo and copy the extracted contents into this folder.
- The result of this demo should look like (the text generated may be different):
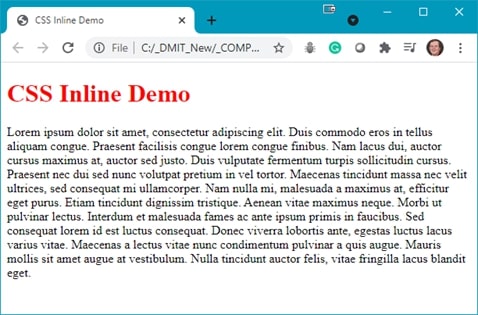
Note: the styling of the heading is red. -
The styling of the heading uses:
<h1 style="color: red;">CSS Inline Demo</h1> - Save and open index.html in your browser.
Steps – Part 2: Embedded Styles
- Create a new folder called css-embedded-demo and copy the extracted contents from Part 1, Step 1, into this new folder. Note, there is no document for the copy; the contents will be generated from https://www.lipsum.com/.
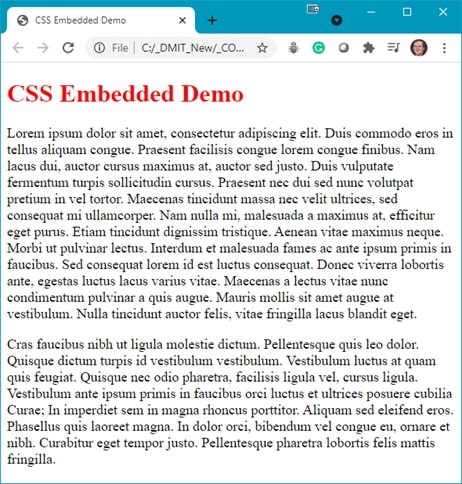
- The result of this demo should look like (the text generated may be different):
-
To style the heading to be red, and to change the font size, use the following in the <head> of the web page:
<style> /* embedded stylesheets are included between style tags */ h1 { color: red; } p { font-size: 18px; } </style> - Save and open index.html in your browser.
Steps – Part 3: Linked Stylesheet
- Create a new folder called css-linked-demo and copy the extracted contents from Part 1, Step 1, into this new folder. Note, there is no document for the copy; the contents will be generated from https://www.lipsum.com/.
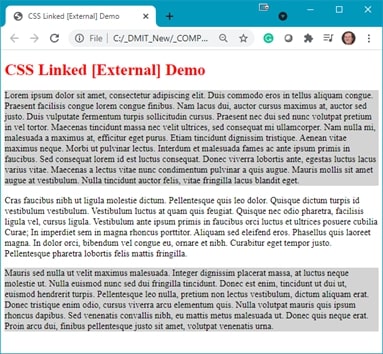
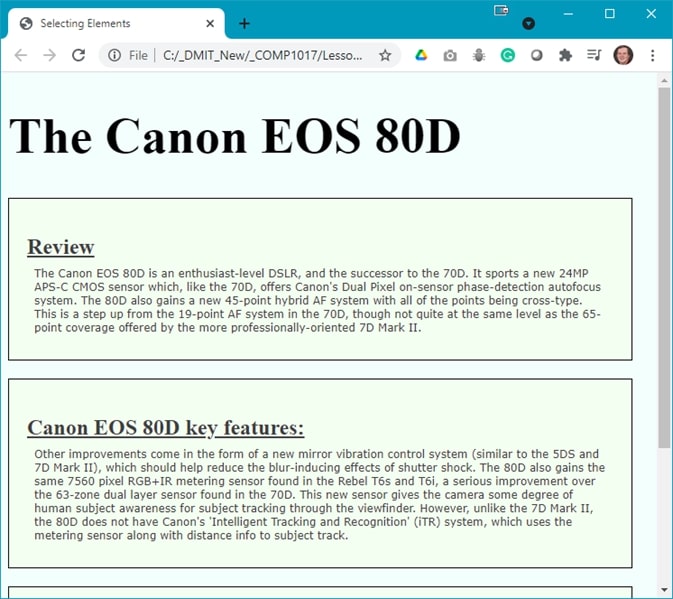
- The result of this demo should look like (the text generated may be different):
- This part of the walkthrough requires you to create a new file. Create a file called styles.css in your css folder.
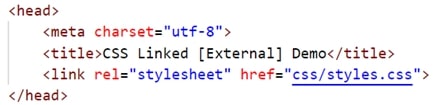
- The code for styles.css will be:
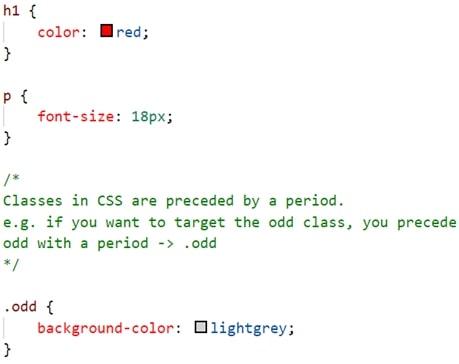
Note: this is an image as you need practice to create your first stylesheet; you can omit the comment in this code.
The first style rule changes the<h1>element to red as we did in the previous parts. The .odd class can be applied to any element on our web page. - In the index.html file, you need to create a link to this stylesheet. This is done using the following code (this is another image as you need to know how to type this out):
- Next we need to apply the .odd class to
<p>elements (only the odd numbered paragraphs). We do this by:

- Modify the 1st and 3rd paragraphs with the class shown in step 6.
- Save your work and open index.html in your browser.
Exercise Instructions
Download the ex-selecting-elements.zip file from Moodle and extract the contents into a folder called ex-selecting-elements. You are to create a stylesheet, styles.css, in your css folder. Link your stylesheet to your index.html file. The resulting web page should look like (partial results shown):
When completed, show your web page to your instructor.